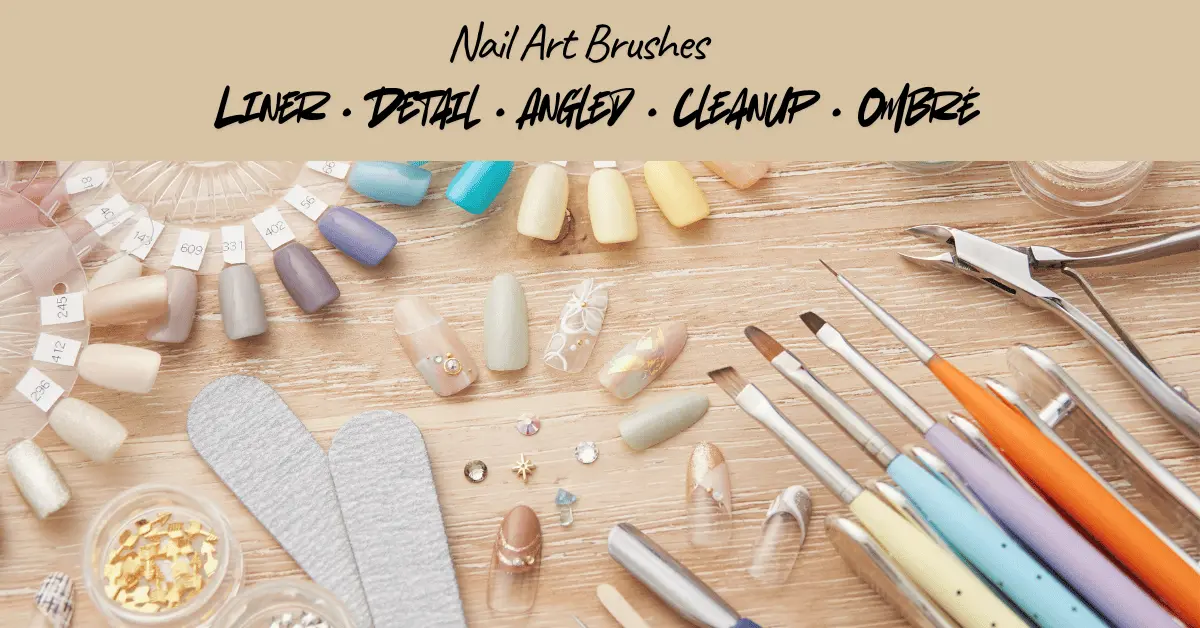
Every nail artist, from beginner to pro, has faced the same moment of confusion: staring at a new set of brushes, wondering which tiny tool is meant for that perfect swirl or crisp French tip. These aren’t just decorative tools; they are the precision instruments that elevate a manicure from “homemade” to high-end salon quality.
Disclosure: This post may contain affiliate links. If you buy through them, we may earn a small commission at no extra cost to you.
The right brush is the difference between a wobbly white smile line and a flawless French tip, or a clean, elegant swirl versus a blob that looks like it panicked halfway through.
So, let’s demystify the toolkit.
In this expert guide, I’m going to walk you through every essential nail art brush type, what it’s truly best for, which ones you can skip, and how to build a simple starter kit that gives you salon-level control without owning 47 brushes you never touch.
And yes—we’ll decode that confusing size chart, because those “5/0” and “10/0” labels shouldn’t feel like a secret code.
Quick Picks: The Best Nail Art Brush for Each Job (Fast Answers)
If you want the “just tell me what to buy” version, this is it:
- Best for crisp French tips: Angled brush + cleanup brush
- Best for thin lines & swirls: Long liner (striping) brush
- Best for tiny florals & micro details: Micro detail brush (10/0–5/0)
- Best for gel application: Flat/square brush (size 0–2)
- Best for ombré / aura nails: Ombre/blending brush or filbert
- Best for making any manicure look “salon”: Cleanup brush (underrated… essential)
If you’re building a starter kit, look for a set that includes long liner + short liner + detail + angled + cleanup.
Nail Art Brush Types at a Glance (Your Quick Cheat Sheet)
Use this table like your “what do I grab?” moment right before you start painting.
| Brush Type | Looks Like | Best For |
|---|---|---|
| Liner / Striping | Long, thin hairs | Crisp lines, swirls, abstract stripes |
| Short Liner | Shorter version of liner | Controlled lines, excellent for beginners |
| Detail Brush | Tiny, short tip | Micro florals, tiny shapes, cleaning edges |
| Flat / Square | Straight edge | Color blocking, base/builder gel application |
| Angled | Slanted tip | French tips, sharp diagonal designs, sidewall cleanup |
| Filbert / Oval | Rounded flat | Soft petals, blending, ombré edges |
| Fan | Fanned bristles | Glitter placement, soft gradients, feathered effects |
| Ombre Brush | Fluffy/soft | Seamless color blending, aura nails |
| Cleanup Brush | Firm, flat/angled | Cleaning cuticles, creating crisp borders |
| Dotting Tool | Metal tip, not bristles | Dots, flowers, leopard spots |
Want an easy all-in-one set to start? Choose a brush kit with nylon bristles and labeled tips. Shop it now on Amazon.
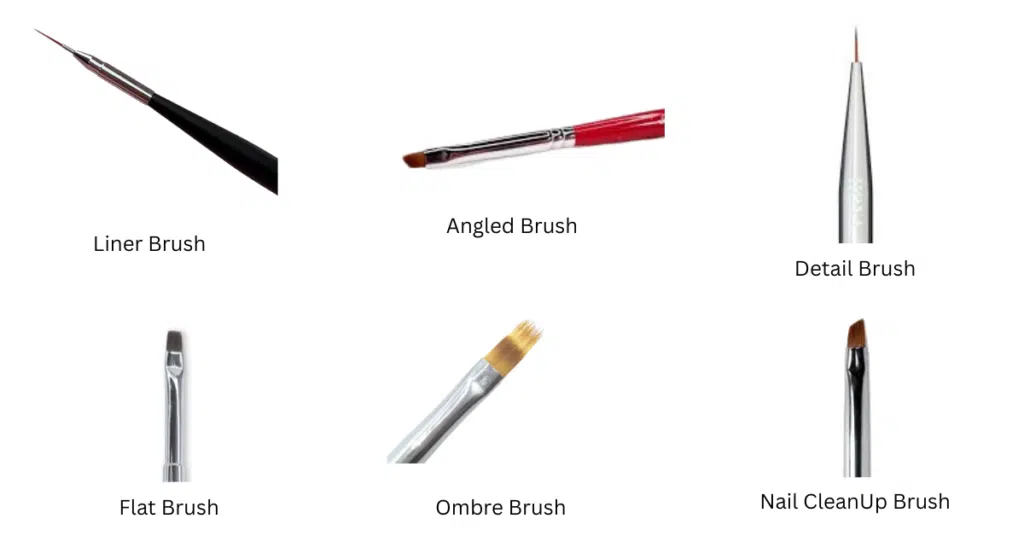
The 10 Essential Brush Shapes (And Exactly What They’re For)
1) Liner Brush (Striping Brush)
This is the brush you reach for when you want precision that looks expensive. Its long, flexible bristles are designed to hold a generous amount of product, allowing you to pull a single, continuous line across the entire nail without lifting.
Best for:
- Elegant swirls and abstract curves
- Long, geometric stripes
- Creating fine outlines and borders
Pro Tip: The secret to a steady hand often lies in the brush, not your nerves. If your liner is giving you the “wobbles,” switch to a slightly shorter bristle. That small reduction in length gives you a massive boost in control, making those shaky lines a thing of the past.
Related read: Nail Art Liner Brush: How to Use It + Top Picks
2) Short Liner Brush
Think of this as the liner brush’s calmer, more stable sister. Because the bristles are shorter, you have less distance between your hand and the nail surface, which translates directly into superior control.
Best for:
- Beginners who want straight lines without the wobble
- Short nails (long liners can feel clumsy here)
- Tiny stripes and minimal nail art details
If you’ve tried a standard liner and felt like it had a mind of its own, the short liner is your new best friend.
3) Detail Brush (Micro Detail)
Small. Short. Controlled. This is the brush for adding those little moments that make a manicure look intentional—tiny petals, mini stars, or delicate dots around a swirl. It’s the tool for the true perfectionist.
Best for:
- Micro florals and intricate lace patterns
- Tiny hearts and small geometric shapes
- Outlining and sharpening edges of larger designs
- “Cleaning up” a design before reaching for acetone
4) Flat / Square Brush
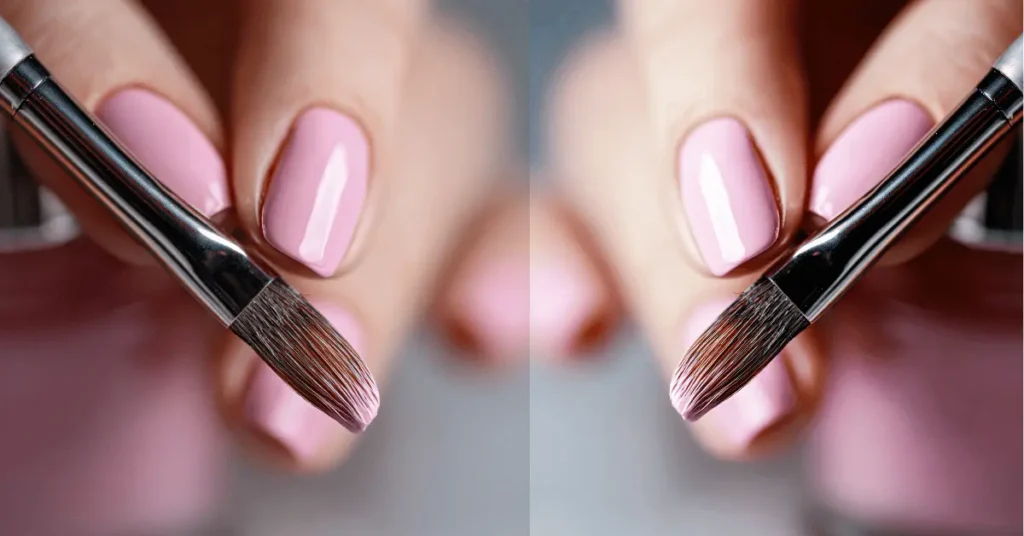
This is the workhorse brush of the nail art world. Its straight, firm edge makes it indispensable for tasks that require coverage and structure.
Best for:
- Crisp color blocking
- Filling in shapes quickly and evenly
- Gel application (especially builder gel or base coats)
- Pressing chrome or pigment powders evenly
If you do gel nails at home, this brush earns its spot on your desk every single time.
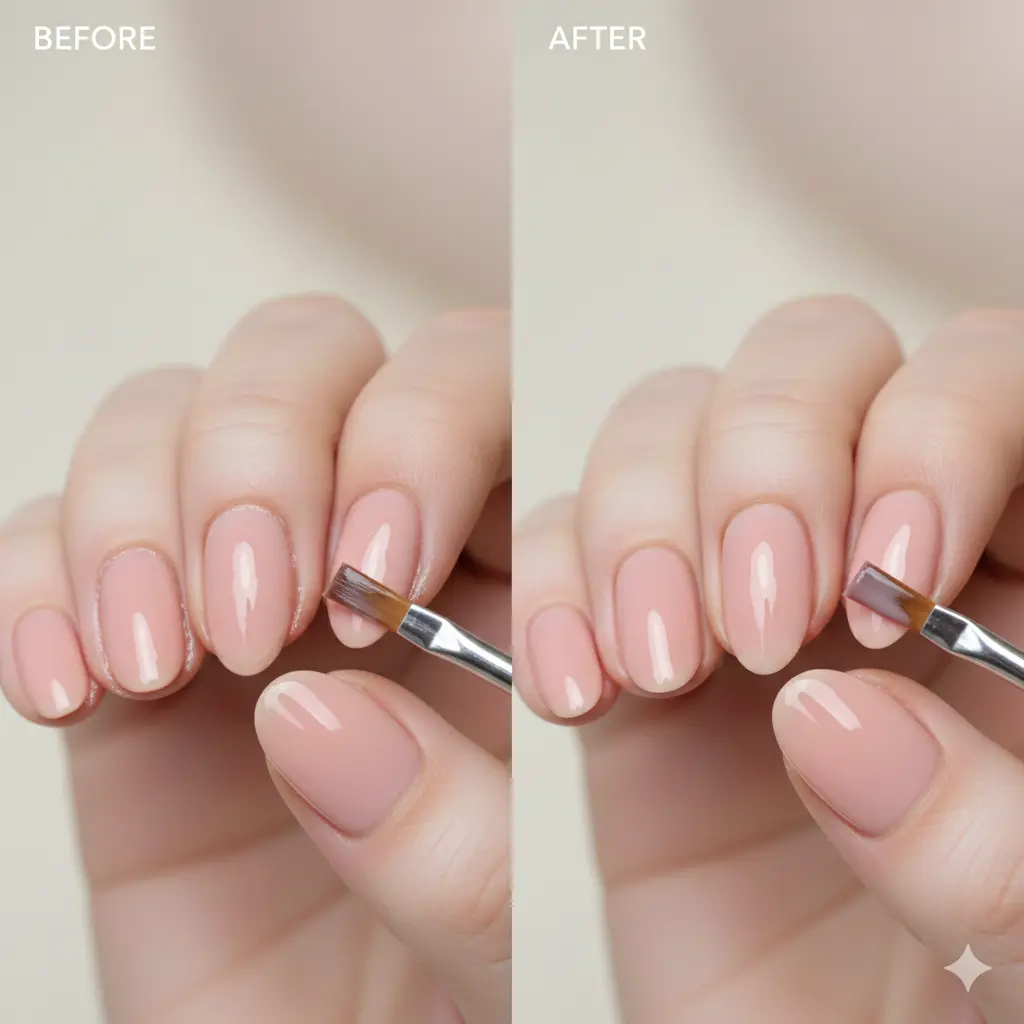
5) Angled Brush
The angled brush is basically a built-in guide for sharp edges. The slant allows you to use the tip for fine lines and the flat edge for broader strokes, making it incredibly versatile.
Best for:
- Creating perfect French tips (especially the side smile lines)
- Cleaning up around the cuticle line with precision
- Executing sharp diagonal and chevron designs
If French tips are your signature look, bookmark this guide:
https://premiumglows.com/nail-art-brush-for-french-tips/
6) Filbert / Oval Brush
A filbert brush has a rounded edge, which means it blends and softens naturally. It’s the go-to for designs that require a gentle touch and a painterly feel.
Best for:
- Soft petals and leaf shapes (the rounded tip creates a natural curve)
- Blending edges for a subtle ombré effect
- Watercolor-style nail art
- “Airy” floral designs that don’t look stamped
If you love a clean-girl mani with a tiny, delicate floral accent, this is the brush that delivers.
7) Fan Brush
Yes, it looks dramatic. No, it’s not just for show. The fanned bristles are perfect for applying product with a light, diffused touch.
Best for:
- Creating soft glitter gradients
- Dusting pigment lightly for a subtle shimmer
- Achieving feathered effects and texture
- Blending without heavy pressure
It’s like applying blush with a fluffy brush versus your finger—the result is always softer and more controlled.
8) Ombre Brush (Blending Brush)

Whether you choose a fluffy, rounded style or a flat, soft-bristled version, the purpose is the same: seamless color transition.
Best for:
- Classic ombré fades
- Creating the popular “aura nails” effect
- Blending two colors without harsh lines
Tip: Ombré looks best when you blend lightly, then blend again after the first layer is cured or almost dry. Building thin layers is the key to a professional fade.
9) Cleanup Brush (Corrector Brush)
This one is criminally underrated—until you use it once and suddenly your manicures look “crisp.” It’s the final step that separates a good manicure from a great one.
Best for:
- Cleaning polish at cuticles and sidewalls
- Sharpening French tips and smile lines
- Fixing wobbly edges before curing gel
- Making cheap polish look expensive
Pair it with a tiny bit of acetone or non-wipe top coat, and you’ll feel like you unlocked a cheat code for perfection.
10) Dotting Tool (Not a Brush, But It Belongs Here)
Because every nail artist searches for it alongside brushes, it deserves a mention. The metal tip allows you to pick up and place a perfect sphere of polish.
Best for:
- Dots (obviously, in various sizes)
- Flowers (five dots = instant petal moment)
- Animal prints like leopard spots
- Marble accents (dot + drag technique)
If you don’t want to freehand everything, dotting tools make intricate nail art feel instantly doable.
Nail Brush Size Chart (What 5/0, 10/0, 000 Actually Mean)
Brush sizing can be messy because brands label differently, but here’s the “real life” translation you need to shop smart:
| Label | Usually Means | Best Use |
|---|---|---|
| 10/0 (or 0000) | Ultra-fine | Micro lines, tiny details, outlining |
| 5/0 (or 000) | Very fine | Outlines, small florals, fine script |
| 3/0 (or 00) | Fine | General detail work, filling small shapes |
| 0 / 1 | Medium | Filling larger shapes, blending, small gel application |
| 2 / 4 / 6 | Wider | Gel application, color blocking, base coats |
The Simple Rule of Thumb:
- If you’re doing lines, go finer and slightly longer.
- If you’re doing details, go shorter and fine.
- If you’re doing gel application, go flat and medium.
Choose Your Brush Based on What You Actually Do
Nobody needs a “complete set” if they only do three styles. Build a smart kit tailored to your signature look.
If you love French tips…
- Start with: Angled brush + Cleanup brush
- Then add: Short liner for crisp edges and smile lines
If you love swirls, lines, and minimalist designs…
- Start with: Long liner brush + Short liner
- Then add: Detail brush for tiny touch-ups and micro-accents
If you do gel nails at home…
- Start with: Flat brush + Oval/Filbert (for base/builder application and blending)
- Then add: Cleanup brush to keep edges perfect and prevent lifting
And when it’s removal time (without damage):
https://premiumglows.com/how-to-remove-gel-nail-polish-at-home/
Pro Technique: How to Load a Brush for Crisp Lines (No Flooding)
This is the part nobody tells you, and it changes everything about your line work. The most common mistake isn’t your hand—it’s the amount of product on your brush.
- Thin Your Product: If you are using gel paint or thick polish, thin it slightly with a drop of gel thinner or a small amount of base coat. Thick product drags and breaks.
- Load Lightly: Don’t dunk the brush like a standard nail polish brush. Dip just the tip of the bristles into the product.
- Wipe One Side: Wipe one side of the brush completely clean on your palette or the bottle rim. This creates a chisel edge and prevents flooding.
- Anchor Your Hand: Always anchor your pinky finger on the table or on the client’s hand to stabilize your movement.
- Pull, Don’t Scratch: Pull the line in one smooth, confident motion. If your line breaks halfway through, your product is likely too thick or you didn’t load enough—but never “scratch” to fill in the gap.
Care + Storage: Make Your Brushes Last 2x Longer
Your brushes don’t get ruined because you bought the “wrong” one. They get ruined because the product dries at the base (the ferrule) and the bristles start to splay. (That crunchy, frayed look? We know it.)
Here’s the fix:
- Clean Immediately: Never let polish or gel cure on your brush. Clean it the moment you finish using it.
- Don’t Soak the Ferrule: The ferrule is the metal part that holds the bristles. Soaking it can dissolve the glue, causing the bristles to fall out.
- Store Correctly: Always store horizontally or bristles-up. Storing bristles-down will bend the tips and ruin the shape.
- Use Brush Caps: If your set comes with caps, use them to protect the delicate tips from dust and accidental bending.
Full brush cleaning guide (gel, polish, acrylic paint):
https://premiumglows.com/how-to-clean-nail-art-brushes/
Affiliate CTA (practical, not pushy): The easiest “upgrade” you can buy isn’t another polish—it’s a brush cleaner + storage case so your tips stay sharp. Shop it now on Amazon.
Best Starter Kit: The 5 Brushes You Actually Need
If you’re building a smart kit (not a clutter kit), these five brushes cover 90% of all nail art designs:
- Short Liner: For control and crisp lines.
- Long Liner: For swirls, striping, and elegant lines.
- Micro Detail: For tiny shapes and precision work.
- Angled Brush: For French tips and sharp edges.
- Cleanup Brush: The essential “salon finish” brush.
Customize Your Kit:
- If you do gel: add a Flat Brush.
- If you do ombré: add a Filbert or Blending Brush.
Want a curated buy guide?
https://premiumglows.com/best-professional-nail-art-brushes/
Affiliate CTA (main conversion moment): If you only buy one set, make it one that includes liner + detail + angled + cleanup (with sturdy handles and nylon bristles). Shop it now on Amazon.
Common Brush Mistakes (That Make Nail Art Look Messy)
Avoid these pitfalls to keep your manicures looking flawless:
- Using a liner brush for filling: It will streak, leave brush marks, and frustrate you. Use a flat brush instead.
- Using thick product and blaming your hand: Thin your polish/gel. A thick product is the number one cause of wobbly, broken lines.
- Pressing too hard: Light pressure is the key to clean lines and sharp details. Let the brush do the work.
- Skipping a cleanup brush: This is the difference-maker. No matter how steady your hand is, a cleanup brush perfects the edges.
- Not cleaning right away: Dried product builds up near the base, the bristles start to splay, and suddenly your “fine line” brush can’t hold a crisp point anymore. Clean immediately and reshape the tip before storing.
FAQs: Nail Art Brush Types
What nail art brush do I need for beginners?
Start with short liner + micro detail + angled + cleanup brush. That combo covers 80% of beginner designs without overwhelm.
What’s the difference between a liner brush and a detail brush?
A liner brush is longer and designed for continuous lines and swirls. A detail brush is shorter and made for tiny shapes, edges, and precision.
What brush is best for French tips?
An angled brush helps create clean smile lines, and a cleanup brush makes the edges look sharp and salon-smooth.
https://premiumglows.com/nail-art-brush-for-french-tips/
Can I use acrylic paint with nail art brushes?
Yes—just keep a set specifically for paint, clean immediately, and avoid leaving paint in the bristles (it dries fast and causes fraying).
How do I clean gel from nail art brushes?
Use the right method for the product type—gel needs different handling than polish or paint.
https://premiumglows.com/how-to-clean-nail-art-brushes/
How often should I replace nail art brushes?
When bristles splay, fray, or won’t hold a crisp point even after cleaning. A good brush can last a long time if you clean and store it properly.
Final Thoughts: The “Right” Brush Makes Everything Easier
Here’s the truth: nail art isn’t hard because you’re not talented. It’s hard because the wrong brush makes every move feel like you’re fighting your own hand.
Start with a small kit. Pick the brush that matches your style. Keep it clean.
And if you want a quick next step, these two guides pair perfectly with this post:
Best Professional Nail Art Brushes: https://premiumglows.com/best-professional-nail-art-brushes/
Nail Art Liner Brush (how to use + top picks): https://premiumglows.com/nail-art-liner-brush/
Soft lines. Crisp edges. That glossy, “I paid for this” finish… at home.
Leave a Reply