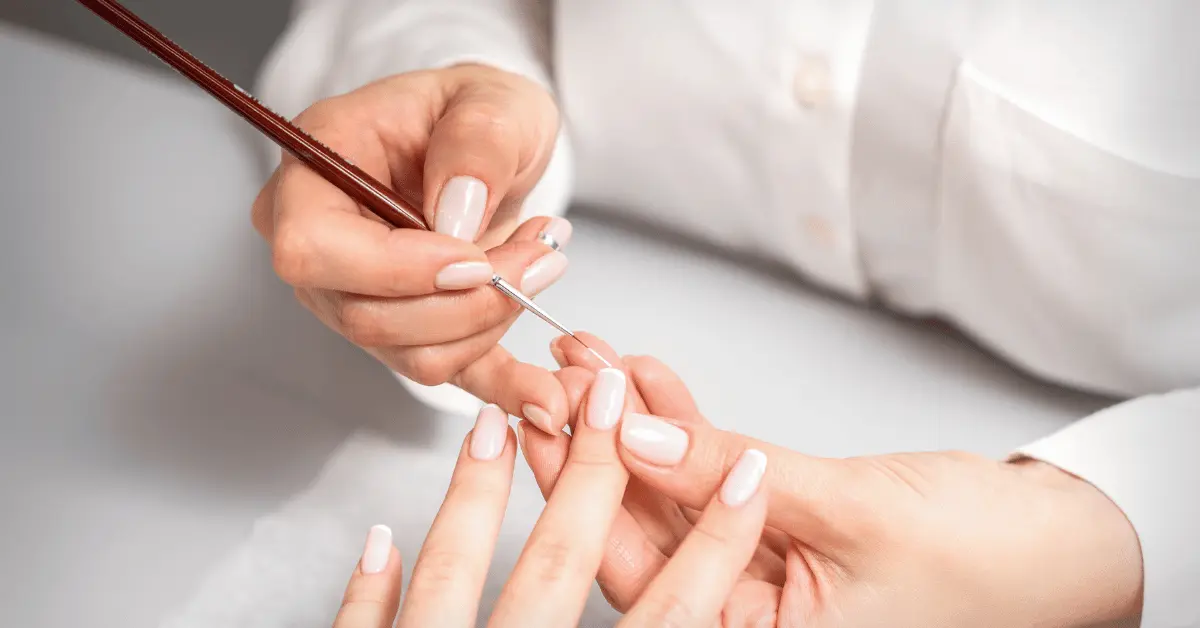
Welcome to the world of precision nail art. Crisp French tips, clean graphic lines, delicate petals—those “how is that so neat?” details usually come down to one tool: a nail art liner brush.
At PremiumGlows, we’re big on salon-level results at home. The liner brush is your slim, controlled tool for drawing fine lines without flooding the nail or losing your edge. In this guide, you’ll learn the technique step-by-step (loading, thinning, steady strokes)—then shop the best liner brushes for your style, from beginners to detail-obsessed pros.
too long; didn’t read (Quick Picks)
Want the fastest “salon-crisp” results? Start with one pick below—then you can build out your brush wardrobe as your designs get bolder.
- Pick: Overall Best
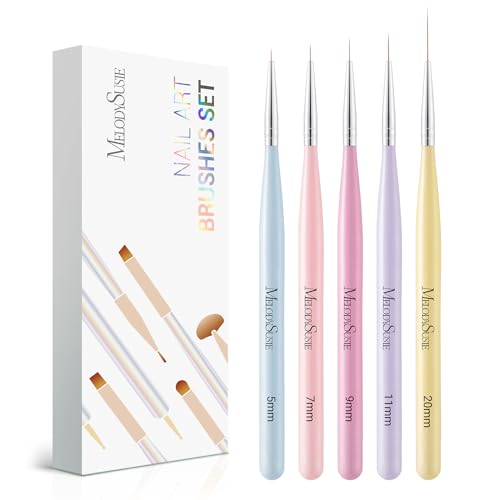
- Product: MelodySusie Nail Art Liner Brushes – 5Pcs (5/7/9/11/20mm)
- Why we picked it: The most balanced set for real-life use—easy handling, precise tips, and sizes that cover micro details through longer strokes. Great for clean outlines, line art, and French tip detailing without feeling “too advanced.”
- Best for: Beginners-to-intermediate users, fine detail, French outlines, everyday nail art
- Key features: 5 lengths • detail-focused tips • compact + travel-friendly • gel-friendly fiber bristles
- Pick: Best for Beginners
- Product: ZEOHBETY Wooden/Natural-Style Liner Brushes – 5Pcs (6/9/12/15/18mm)
- Why we picked it: Beginner-friendly lengths that make it easier to control your stroke (less wobble), plus protective caps to help prevent fraying while you’re still learning pressure + product loading.
- Best for: First-time liner brush users, simple lines, small details, practice sets
- Key features: 5 practical lengths • precision tips • protective caps • easy to store
- Pick: Best for Long Striping
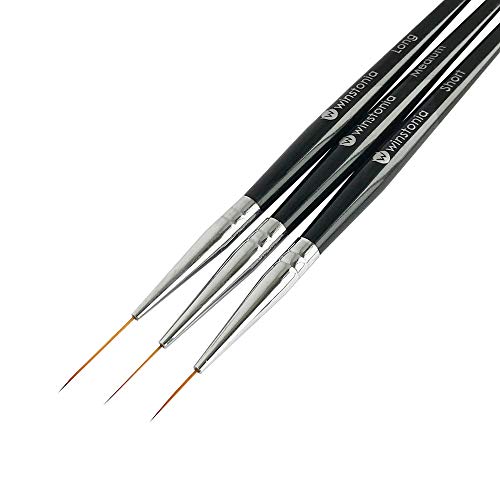
- Product: Winstonia Striping Nail Art Brushes – 3 Pcs (stripers with caps)
- Why we picked it: This trio is made for those long, uninterrupted lines—think stripes, swirls, graphic outlines, and clean sidewall detailing. When your goal is “one smooth pull,” stripers like these make it noticeably easier.
- Best for: Striping, long lines, geometric nail art, crisp swirls
- Key features: 3 striper lengths • durable nylon hair • solvent-tolerant handles • protective caps
- Pick: Budget-Friendly Practice Pick
- Product: 3PCS Nail Art Liner Brushes (7/9/11mm)
- Why we picked it: A compact set that’s ideal for practicing control and line consistency without buying a huge kit. The shorter lengths are great for learning pressure, loading the tip, and getting straighter strokes.
- Best for: Budget kits, beginners practicing technique, short-to-medium line work
- Key features: 3 essential sizes • simple and compact • good for training steady lines
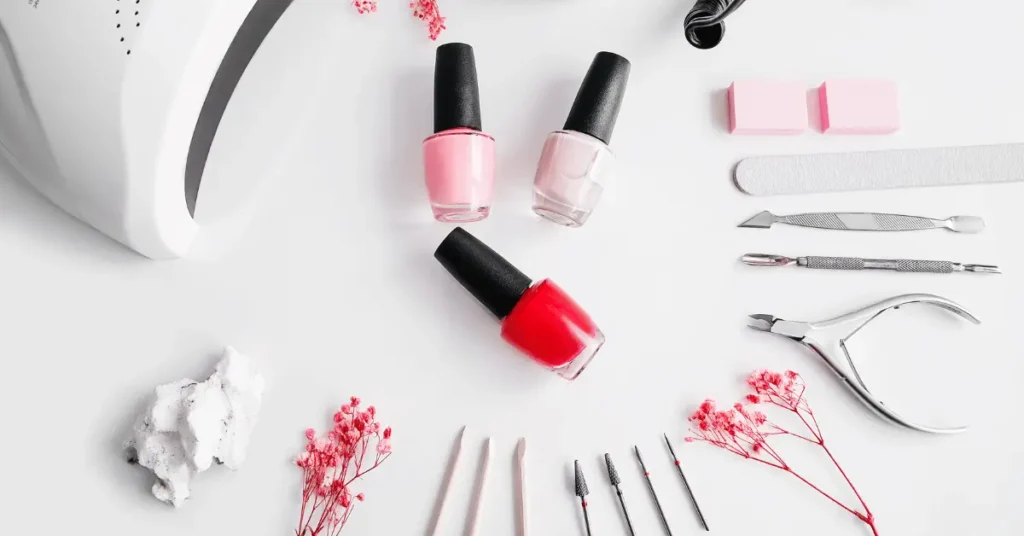
1. Anatomy of a Liner Brush: Your Precision Tool
A liner brush is easily recognizable by its long, thin bristles. Unlike a regular nail polish brush, which is designed for broad coverage, the liner brush is built for control and detail.
To truly master it, you need to know the three main types. Choosing the right one is the first step to success!
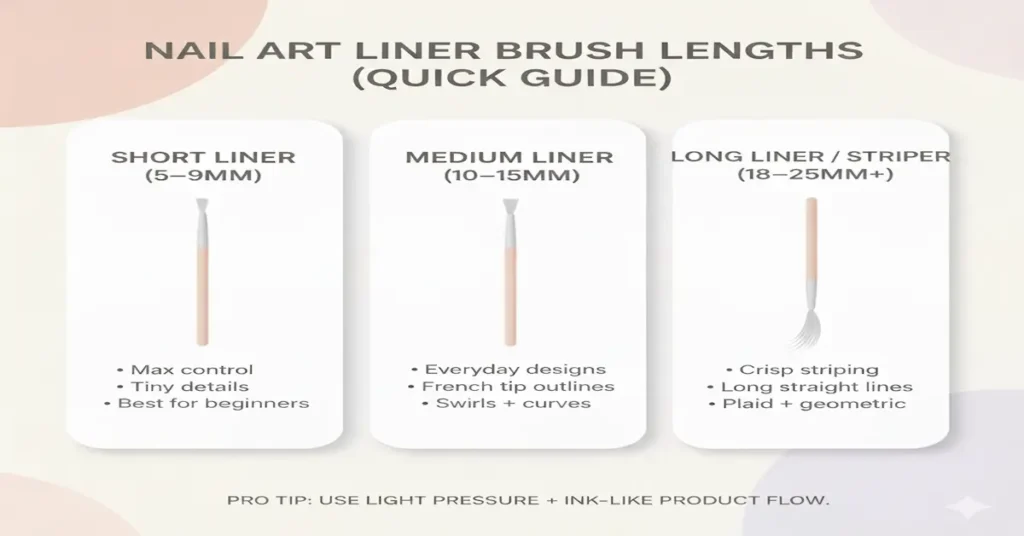
| Brush Type | Bristle Length | Best For… | Beginner Tip |
| Short Liner Brush | 5mm to 9mm | Tiny details, small florals, filling in small spaces, and intricate patterns. | Great for beginners as the shorter bristles offer maximum control and stability. |
| Medium Liner Brush | 10mm to 15mm | Swirls, curved lines, medium-sized geometric patterns, and detailed French tips. | The perfect all-rounder for most popular nail art designs. |
| Long Liner/Striping Brush | 18mm to 25mm+ | Long, straight lines (stripes), plaid patterns, and very long strokes without needing to reload polish. | Requires a steadier hand, but is essential for achieving perfectly crisp, long lines. |
2. How to Use a Nail Art Liner Brush: A Step-by-Step Guide
The most common question we hear is, “How do I get my lines straight and crisp?” The answer lies in three key areas: product consistency, brush loading, and technique.
This section is your masterclass in using your nail art liner brush to create stunning designs, from simple stripes to complex patterns.
Step 1: Perfecting Your Polish Consistency
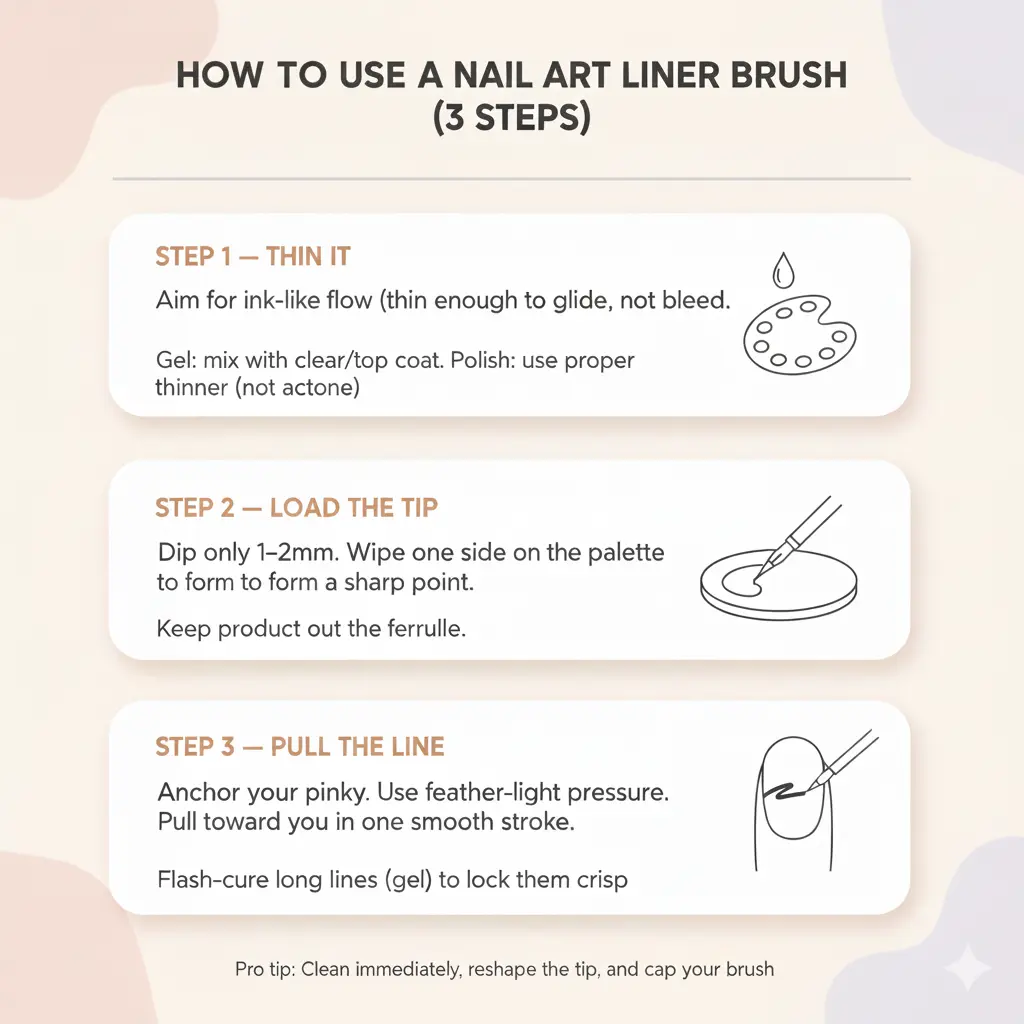
This is the secret ingredient! Most nail polishes or gels are too thick straight out of the bottle for fine line work.
- For Gel Polish: Use a mixing palette (or a piece of foil) and add a tiny drop of a clear top coat or a dedicated gel thinner to your colored gel. Mix it until it has the consistency of ink—thin enough to flow smoothly, but not so thin that it bleeds.
- For Regular Polish: Use a dedicated polish thinner (not acetone!) to thin your color slightly.
Step 2: Loading Your Brush (The Goldilocks Rule)
You want your brush to be “just right”—not too much polish, not too little.
- Dip the tip of your liner brush into your thinned polish/gel.
- Crucially, wipe off the excess on the side of your palette. You want the polish to form a fine, sharp point on the tip of the brush, not a big blob. The polish should coat the first half of the bristles evenly.
Step 3: Mastering the Technique
This is where the magic happens. Remember, we’re going for a friendly, relaxed approach!
- Anchor Your Hand: This is the single most important tip for a steady line. Rest your elbow on a table and use your pinky finger (or ring finger) to gently rest on the nail you are painting or on a nearby finger. This creates a stable “tripod” for your hand.
- Light as a Feather: Use the absolute lightest pressure possible. You are not painting with the brush; you are letting the polish flow off the brush.
- Pull, Don’t Push: Always pull the brush towards you in one smooth, continuous motion. Pushing the brush will cause the bristles to splay and create a thick, wobbly line.
- Reload for Long Lines: If you are using a short or medium liner brush for a long line, don’t try to do it all in one go. Stop, reload your brush tip, and then continue the line from where you left off. The long striping brush is designed to minimize this need.
3. Pro Tips for Flawless Nail Art
Ready to move from beginner to pro? Here are a few advanced tips to elevate your liner brush game:
- The “Floating” Line: For the straightest lines, hold your brush perpendicular to the nail (straight up and down) and let the polish just barely touch the surface. This technique, often called “floating,” prevents the bristles from bending and keeps your line ultra-thin.
- Creating Curves: When drawing a curve or a swirl, don’t move your brush in a curve. Instead, keep your brush hand steady and slowly rotate the finger you are painting. This uses the natural curve of the nail to guide your line, resulting in a perfectly smooth arc.
- Cleaning Between Colors: Always have a small dish of brush cleaner (or pure acetone for regular polish, or alcohol for gel) ready. Wipe your brush on a lint-free wipe, dip it in the cleaner, and wipe again. This prevents color mixing and keeps your brush tip sharp.
4. Maintenance: Keep Your Brushes Happy
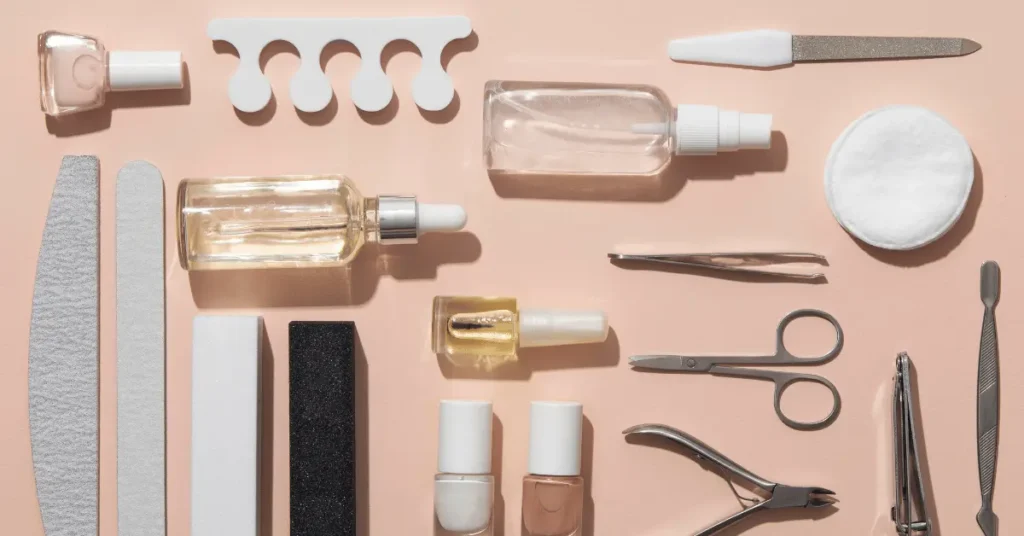
Your high-quality brushes are an investment. Proper care ensures they last for years and perform perfectly every time.
- Never Let Polish Dry: The number one rule! Never let gel or regular polish dry on the bristles. Clean them immediately after use.
- Reshape After Cleaning: After cleaning, gently pinch the bristles with your fingers to reshape them back to a fine point.
- Store Properly: Store your brushes horizontally or with the bristles pointing up. Many quality brushes come with a cap—always use it to protect the delicate tip from dust and damage.
5. Our Top 12 Nail Art Liner Brush Picks
In line with the PremiumGlows commitment to quality, we’ve curated a list of highly-rated liner brush sets available on Amazon. These sets are perfect for achieving professional results at home and are designed for durability and precision.
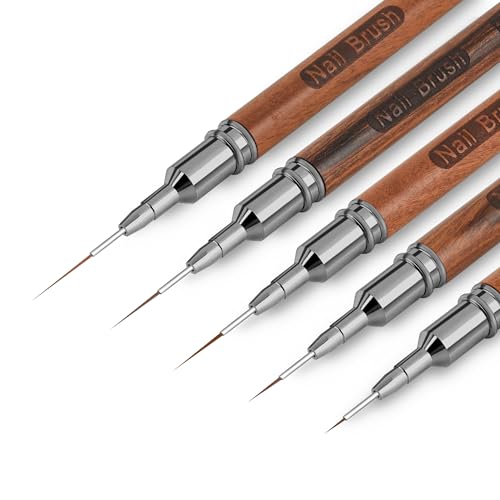
1) Artdone Metallic Nail Art Pens – 5PCS (5/8/12/20/25mm)
Best for: everyday line work, striping, lettering, and quick DIY sets
If you want a no-drama liner set that covers tiny details → long striping in one kit, this Artdone 5-piece is built for that.
The range of lengths makes it easy to switch from micro outlines to long, salon-clean strokes without fighting the brush. Customers often praise how easily it creates crisp lines and how beginner-friendly it feels—though durability feedback is mixed, so it’s smart to cap them and clean gently after each session.
Key features: Metal handle • 5 lengths • works with polish + acrylic paint
Pros: Great size range • easy for clean lines • simple to clean
Cons: Some reports of breakage after a few uses
2) MelodySusie Liner Brushes – 5PCS (5/7/9/11/20mm)
Best for: fine details + French tip outlines + controlled gel designs
This set is your “precision first” option. The fiber bristles are designed to resist deformation, and the lengths are perfect for everyday nail art—especially delicate outlines and thin, controlled lines that don’t look shaky. Customers love how easy these are to handle and how well they work with gel polish, but there are occasional mentions of shedding—so keep product out of the ferrule and avoid aggressive wiping.
Key features: Compact set • precise tips • travel-friendly
Pros: Great for fine detail • easy to control • gel-friendly
Cons: Some shedding complaints
3) Komall Metallic Liner Brush Set – 5PCS (4/8/12/20/25mm)
Best for: intricate designs + small details + French tips
If your goal is sharp little details (think tiny petals, micro outlines, crisp French smile lines), Komall is a strong contender. The nylon bristles are praised for smooth performance and precision, and the metal handle thickness helps with control. Durability is mixed—some users say they hold shape well, others report the tip splitting over time—so gentle cleaning + reshaping is the secret sauce.
Key features: Nylon bristles • 5 lengths • comfort-grip metal handle
Pros: Precise for small detail • good value • pretty design
Cons: Some tip splitting reported
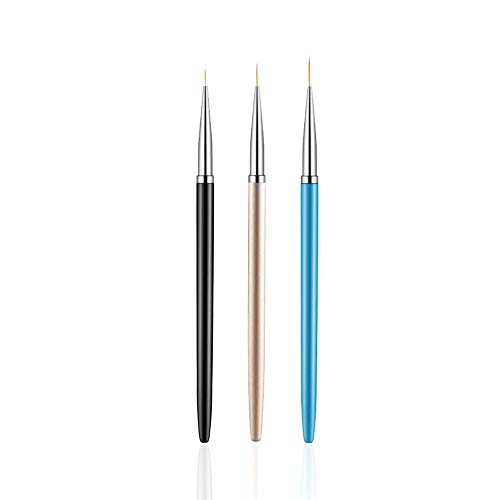
4) Lykjdnz Liner Brushes – 5PCS (7/9/11/15/25mm)
Best for: beginners who want a simple, cute, functional set
This is a friendly starter set: light in the hand, easy to maneuver, and sized well for learning long lines without needing professional-level control. Customers like the variety of lengths and how smoothly the brushes glide for line work. Bristle durability varies—so if you want these to last, keep them capped, avoid pressing down hard, and clean immediately after use.
Key features: Multiple lengths • beginner-friendly • sleek pink/gold look
Pros: Good value • easy to use • nice size variety
Cons: Mixed bristle longevity
5) Saviland Rhinestone Handle Liner Brushes – 6PCS (7/9/11/13/17/23mm)
Best for: fine-line gel art with a luxe vanity aesthetic
This is for the girlies who want tools that perform and look pretty on the desk. The nylon hair is designed for fine line painting, and the longer lengths are great for continuous strokes (striping, swirls, plaid). Customers love the look and the crispness for delicate designs—just watch for occasional reports of receiving broken brushes (inspect on arrival).
Key features: Rhinestone handle • multiple lengths • gel/acrylic-paint friendly
Pros: Pretty + functional • crisp fine lines • good value
Cons: Some durability/shipping damage complaints
6) Beetles Gel Polish Liner Brushes – 5PCS (5/7/9/11/20mm)
Best for: gel polish line work + flowers/patterns
Beetles is a familiar brand for gel lovers, and this set suits that audience: thin detail work, line art, and tiny patterns that need control. Customers often mention good value and ease of use, especially for fine detail. Durability feedback is mixed (some say sturdy, some say break easily), so treat them like precision tools—light pressure, quick cleaning, capped storage.
Key features: Quality fiber • designed for gel art • detail-focused sizes
Pros: Excellent for fine detail • beginner-friendly • good value
Cons: Mixed sturdiness
7) MelodySusie Liner Brushes (Plum) – 5PCS (5/7/9/11/20mm)
Best for: beginners who want ultra-thin, crisp detail capability
This set gets a lot of love for being “super thin” in real life—great for micro outlines, thin curves, and delicate line work that looks salon-sharp. The set is also compact and easy to store. Some listings have confusing handle material details across variants—so focus on what matters: tip sharpness, control, and how well it holds shape with proper care.
Key features: Precision tips • compact • beginner-friendly
Pros: Great for detailed work • sturdy feel (per many users) • pretty finish
Cons: Variant details can vary; double-check the exact listing
8) ZEOHBETY Wooden/Natural-Style Liner Brushes – 5PCS (6/9/12/15/18mm)
Best for: small detail work + a simple “classic tools” look
A solid option if you prefer a more minimal aesthetic and want thin liners for controlled detail. Customers like the precision for small work, and many say it’s beginner-friendly. Build quality is mixed (some find them sturdy, others flimsy), so I’d position these as a good “starter/detail” set rather than a forever investment.
Key features: Thin tips • caps • beginner-friendly lengths
Pros: Precise • good for beginners • caps help protect tips
Cons: Mixed build quality
9) Winstonia Striping Brushes – 3PCS (varied lengths)
Best for: long, straight lines and striping (the “I want crisp stripes” set)
If your main goal is long lines without reloading, this trio is designed exactly for that. Durable nylon hair works across polish, gel, and acrylic paint, and the acrylic handles tolerate cleaning solvents better than many budget sets. People love the line quality and detail ability. Durability is still mixed (as with most affordable sets), but overall these are a strong “striping specialist” pick.
Key features: 3 striper lengths • caps • solvent-tolerant handles
Pros: Beautiful long lines • easy to clean • great detail performance
Cons: Some durability complaints
10) SQULIGT Liner Brushes – 3PCS (7/9/11mm)
Best for: budget-friendly practice + short-to-medium line work
A compact set that works well when you don’t need ultra-long striping. Customers often call it functional and good value. Bristle firmness is debated—some like the stiffness, others find them too soft—so I’d frame this as a good practice kit for learning pressure control and line consistency.
Key features: Small set • good value • simple sizes
Pros: Affordable • easy to use • good for practice
Cons: Mixed bristle firmness + fraying reports over time
11) TEOYALL Fine Line Brushes – (7/9/11/15/20mm)
Best for: fine detailing + “pretty tools” lovers
This is a strong “aesthetic + precision” option, especially if you like translucent gradient handles. Users frequently mention the thinness for detail work and good value. Shedding and stiffness feedback is mixed—so keep expectations realistic: these can be excellent when maintained well, but they’re not a pro Kolinsky-level investment.
Key features: Fine detail lengths • acrylic handle • precision focus
Pros: Great for detail • pretty design • good value
Cons: Mixed shedding/stiffness feedback
12) Etercycle Liner Brushes – 5PCS (7/9/11/15/20mm)
Best for: long narrow lines + detailed painting
This set is often praised for how well it performs on long, narrow lines—the kind that can look messy if your brush floods. People also like how easy it is to use and that it holds up over time for the price. For best results: thin your product slightly, load only half the bristles, and pull in one confident motion (your own method already teaches this well).
Key features: Multiple lengths • nylon • detail-friendly
Pros: Great for narrow lines • easy to handle • good value
Cons: Like most budget sets, longevity depends heavily on care
Common Mistakes With a Nail Art Liner Brush (and Easy Fixes)
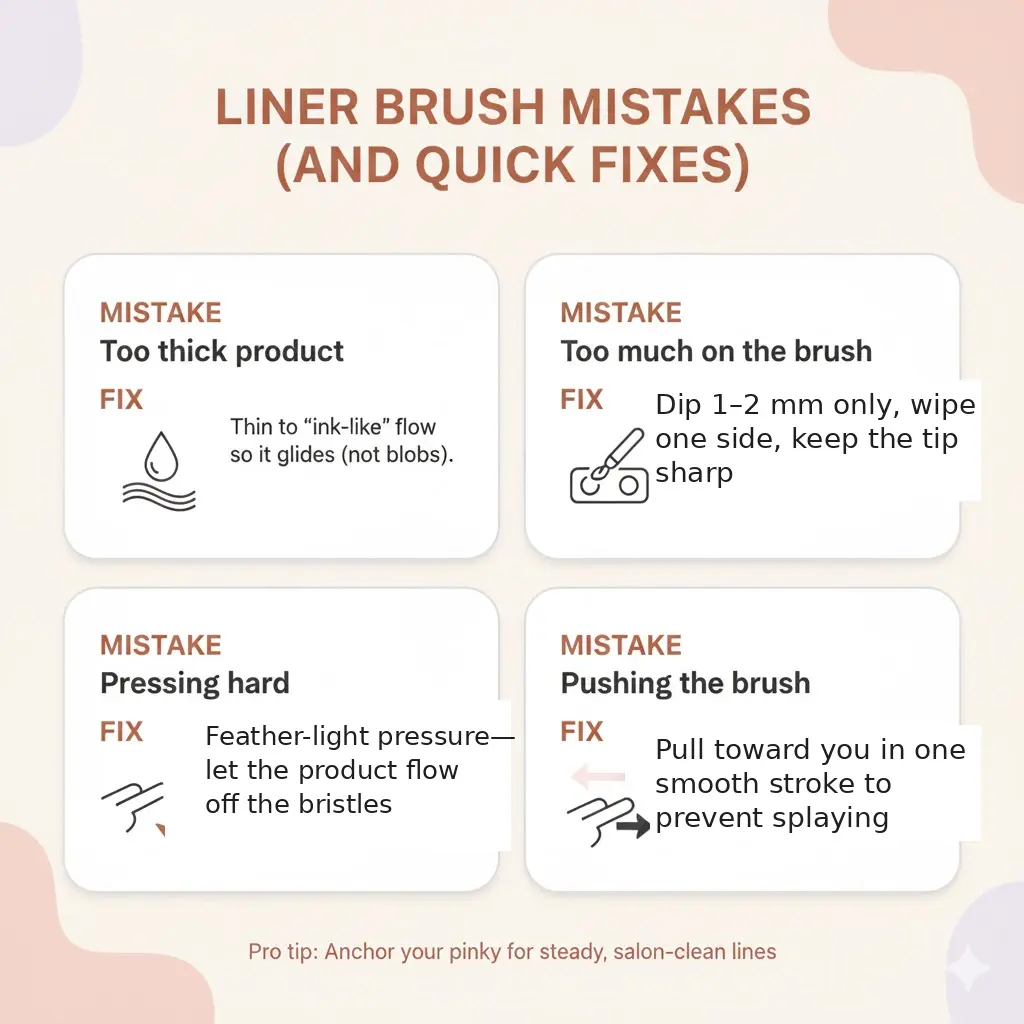
Most “messy line” problems aren’t your hands—they’re a tiny technique mismatch. Here are the most common issues and exactly how to fix them fast.
- Mistake: Using product that’s too thick.
Fix: Thin slightly (ink-like flow), and reload smaller amounts more often. Thick gel/polish drags and makes bumpy lines. - Mistake: Loading too much product.
Fix: Dip only the first 1–2mm of bristles, then wipe one side on your palette to form a sharp point. Overloading causes flooding and blurry edges. - Mistake: Pressing down hard.
Fix: Feather-light pressure. Let the product flow off the tip. Heavy pressure splays bristles and thickens the line. - Mistake: Pushing the brush away from you.
Fix: Pull toward you in one smooth stroke whenever possible. Pushing makes the tip skip and wobble. - Mistake: Stopping and starting too much.
Fix: Commit to one confident pull. If you must pause, reload and continue from the end point (don’t overlap heavily). - Mistake: Not flash-curing (gel).
Fix: For long lines, flash-cure 5–10 seconds to “lock” crisp edges before adding more detail. - Mistake: Letting product dry in the bristles.
Fix: Clean immediately after use—this is what keeps tips needle-fine. Follow your full routine here: How to Clean Nail Art Brushes. - Mistake: Starting on a rough base.
Fix: Smooth the surface first. If you’re removing old gel, do it safely (no peeling) so your next lines don’t snag: How to Remove Gel Nail Polish at Home.
FAQs: Nail Art Liner Brush
Q: What’s the best nail art liner brush length for beginners?
A: Start with a short liner (5–9mm) for maximum control. Once your lines feel steady, move up to a medium liner (10–15mm) for swirls, French tips, and everyday nail art.
Q: How do I keep my lines ultra-thin and crisp?
A: Thin your product slightly (ink-like flow), load only the tip, and use feather-light pressure. Anchor your pinky for stability and pull the brush toward you in one smooth stroke.
Q: Why does my liner brush make wobbly lines?
A: Wobble usually comes from either too much product or too much pressure. Wipe excess off on a palette, keep your brush at a gentle angle, and rest your hand/pinky to steady the stroke.
Q: Can I use a nail art liner brush with regular nail polish?
A: Yes. For best results, use a small amount on a palette and thin slightly with a proper polish thinner (not acetone). This helps the polish flow smoothly without dragging.
Q: Can I use the same liner brush for gel and regular polish?
A: It’s better to dedicate brushes by system. Gel residue and polish solvents don’t always mix well, and separate brushes help keep your tips sharp and your colors clean.
Q: What brush should I use for French tips—liner or something else?
A: A liner brush is great for crisp outlines and smile lines. An angled brush can be easier for shaping. This guide breaks it down: Nail Art Brush for French Tips.
Q: How do I clean a liner brush after gel polish?
A: Wipe on a lint-free pad, cleanse with isopropyl alcohol, gently reshape the tip, and cap it. Full step-by-step here: How to Clean Nail Art Brushes.
Q: How long do nail art liner brushes last?
A: With careful cleaning and capped storage, many budget-friendly liner sets last several months of regular use. Replace when bristles splay, shed, or won’t form a sharp point—even after reshaping.
Conclusion

If you take one thing from this guide, let it be this: the nail art liner brush rewards light pressure and good product flow. Once you get that “ink-like” consistency and learn to pull in one smooth motion, your lines start looking instantly cleaner—French tips sharper, swirls smoother, and tiny details more intentional.
Start simple: a short liner for control, a medium liner for everyday designs, and a long striper when you’re ready for those crisp, uninterrupted lines. Then keep your tools happy—clean immediately, reshape, cap, repeat. (Your future manicures will thank you.)
Ready to choose your brush? Scroll back to our Top Picks and grab the set that matches your style—whether you’re practicing your first straight line or perfecting salon-level detail work.
Scroll to Top Picks and tap Buy on Amazon to choose your set.
Leave a Reply